How to Set Up Google Wi-Fi in Your House: A Step-by-Step Guide
If you're looking for a reliable and strong Wi-Fi signal throughout your home, setting up Google Wi-Fi is a great option. With its simple mesh system, you can easily expand your Wi-Fi coverage to every room without any dropouts. However, setting up Google Wi-Fi can be a bit tricky if you're new to it. In this guide, we'll walk you through the process of setting up Google Wi-Fi in your house.Before You Start
Before you begin setting up your Google Wi-Fi system, make sure you have the following: * A Google Wi-Fi router * A Google Home app on your smartphone or tablet * Your Wi-Fi network name and passwordStep 1: Unboxing and Powering On
Such details provide a deeper understanding and appreciation for How To Set Up Google Wi Fi In House.
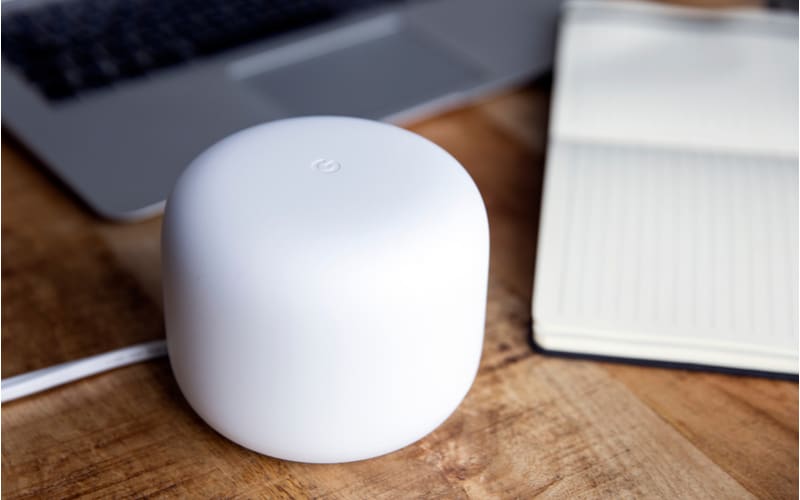
First, unbox your Google Wi-Fi router and plug it in. The LED light on the front of the router will start glowing, indicating that it's powered on.Step 2: Download and Install the Google Home App
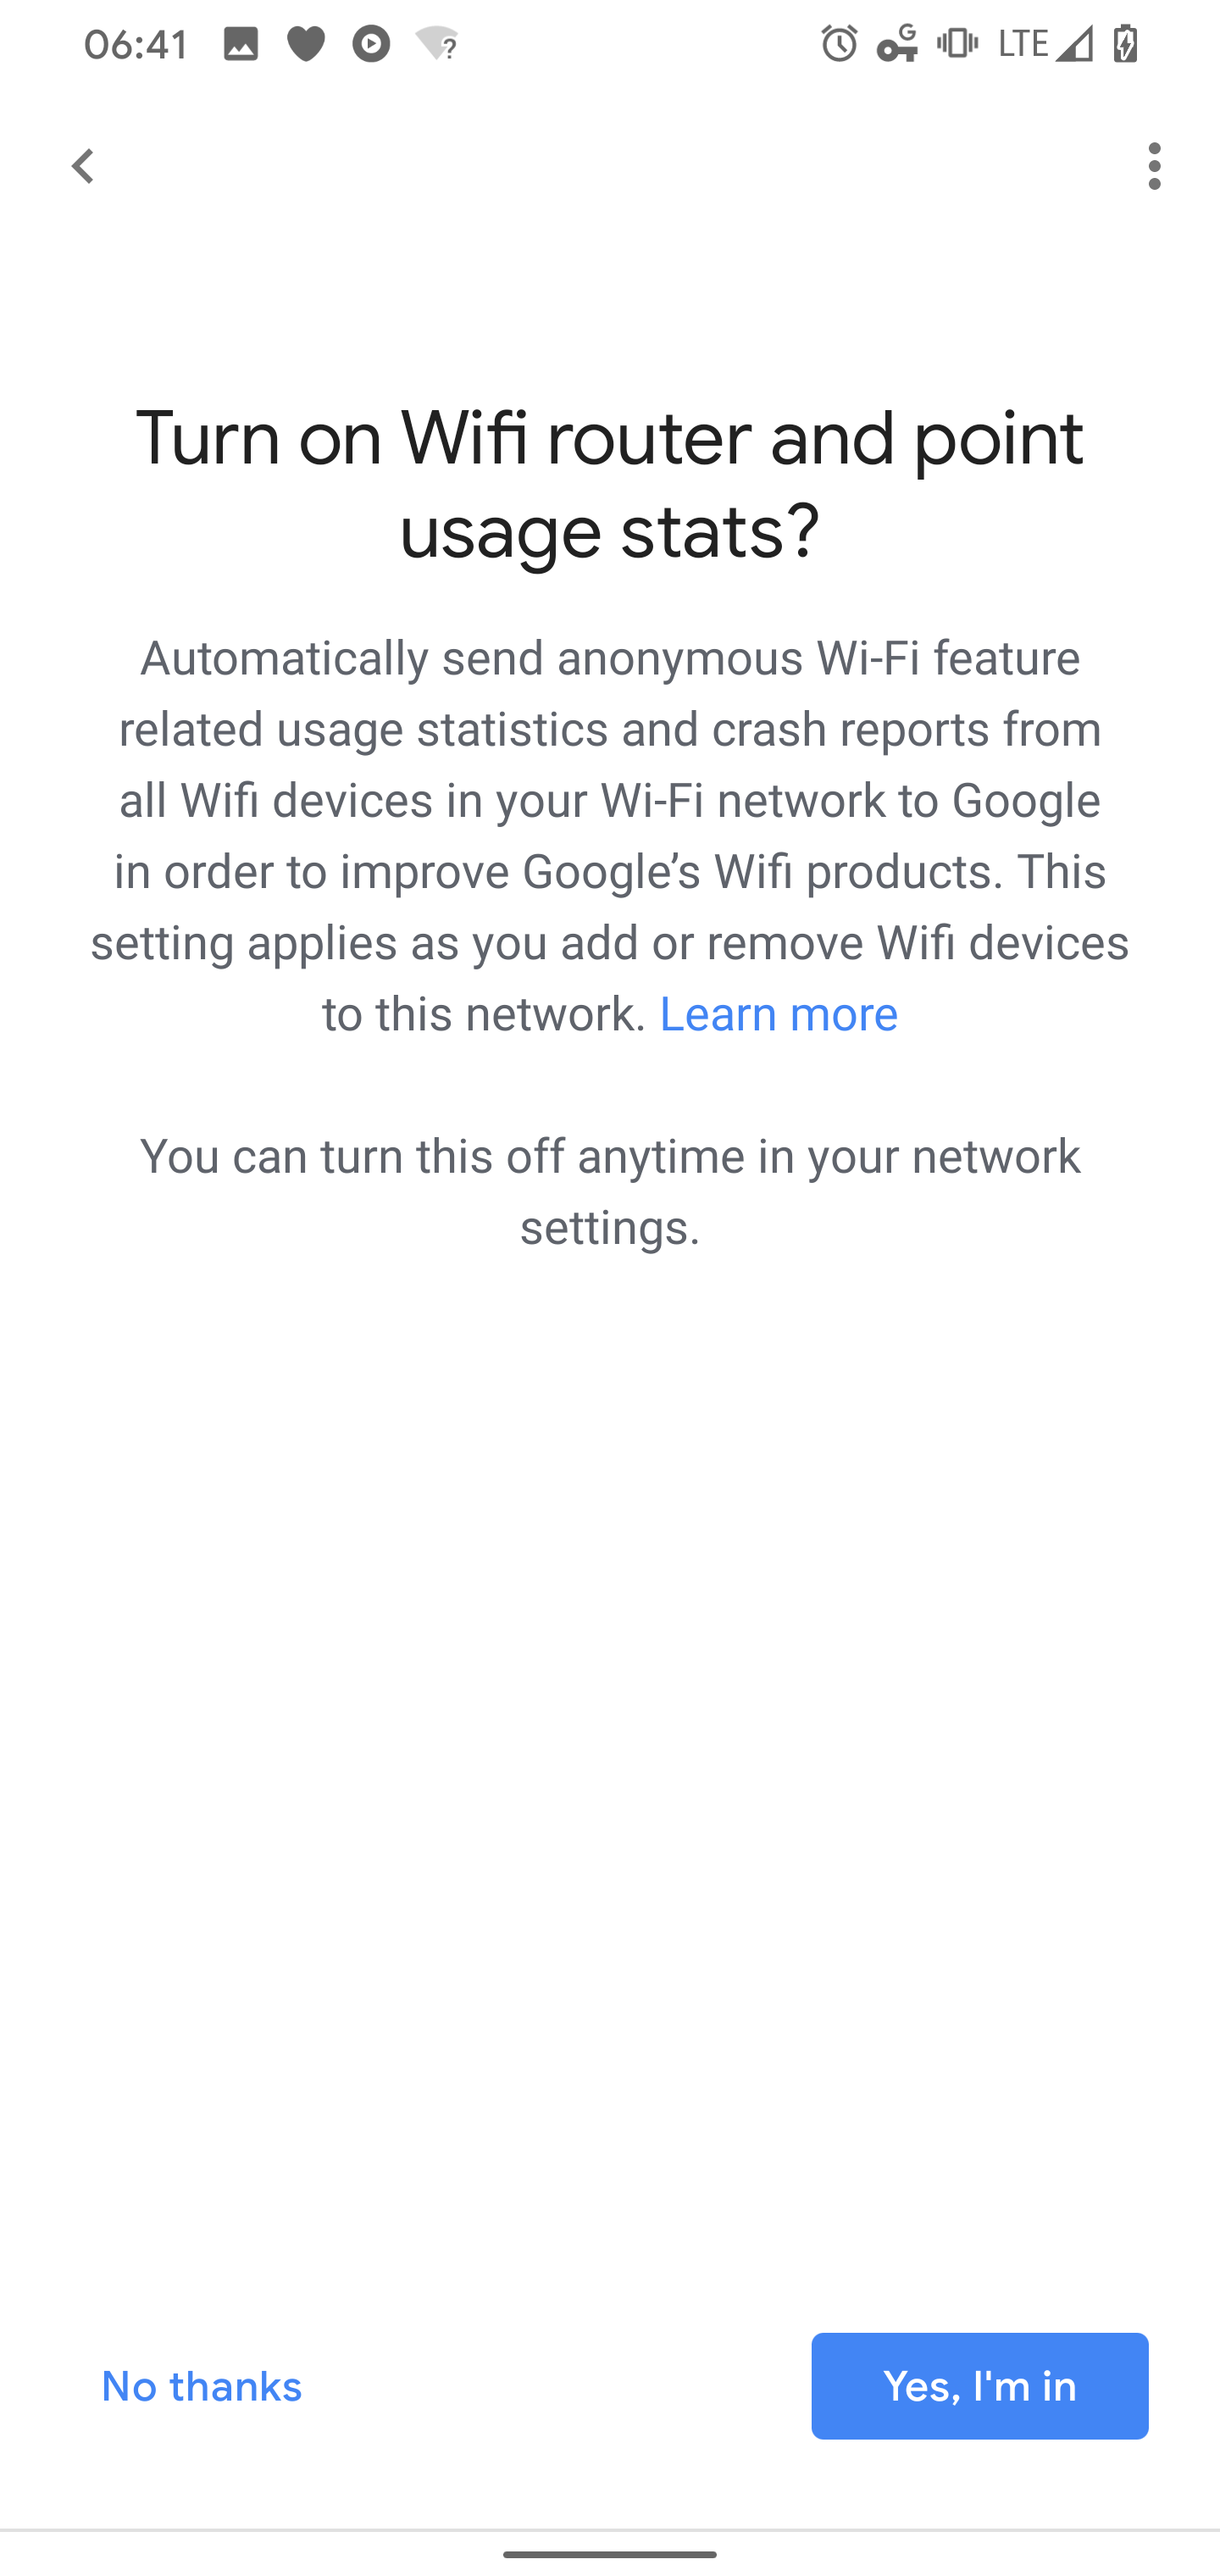
Next, download and install the Google Home app on your smartphone or tablet. Open the app and sign in with your Google account. Open the Google Home app and tap on "Add device" or "Setup device." Follow the on-screen instructions to set up your Google Wi-Fi router. This may involve connecting to a temporary Wi-Fi network created by the router.Step 4: Connect Your Google Wi-Fi Router to Your Existing Network
Step 5: Place Your Google Wi-Fi Router in the Right Location
Place your Google Wi-Fi router in a central location in your home to ensure maximum coverage. You can also place additional Google Wi-Fi routers in other rooms to create a mesh network.Step 6: Test Your Google Wi-Fi Connection

Furthermore, visual representations like the one above help us fully grasp the concept of How To Set Up Google Wi Fi In House.
Finally, test your Google Wi-Fi connection to ensure it's working properly. You can do this by checking your Wi-Fi signal strength and speed.


 - TechnoWifi")


:max_bytes(150000):strip_icc()/GettyImages-1525301735-1e98cca6ca1d42d19ba6cdd4d0cddb09.jpg "Light Reading")


